
By Lia Havlena
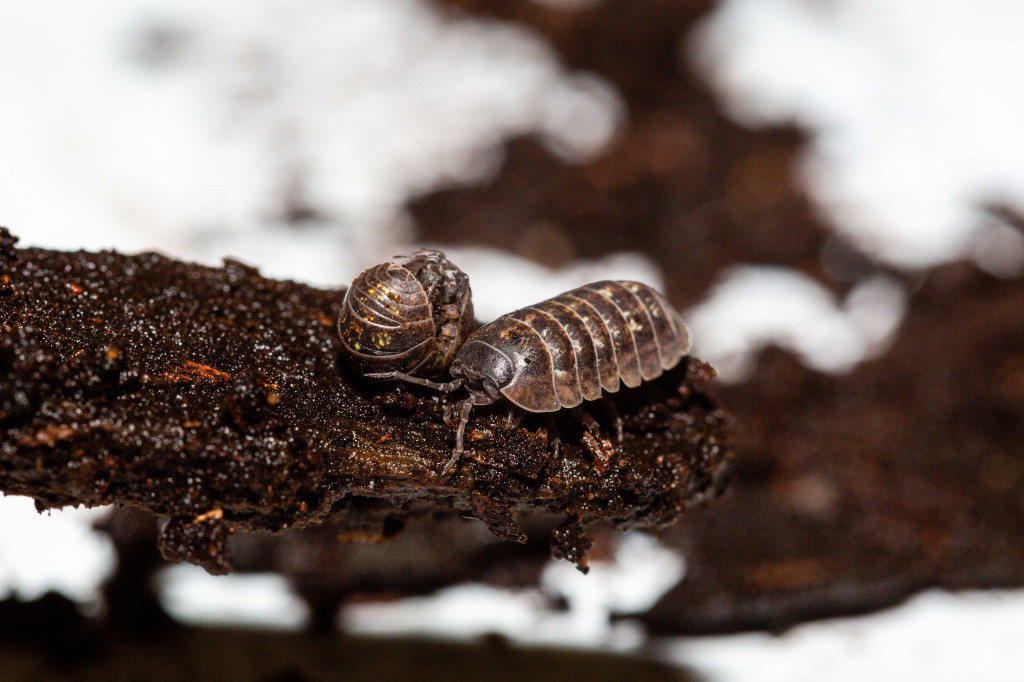
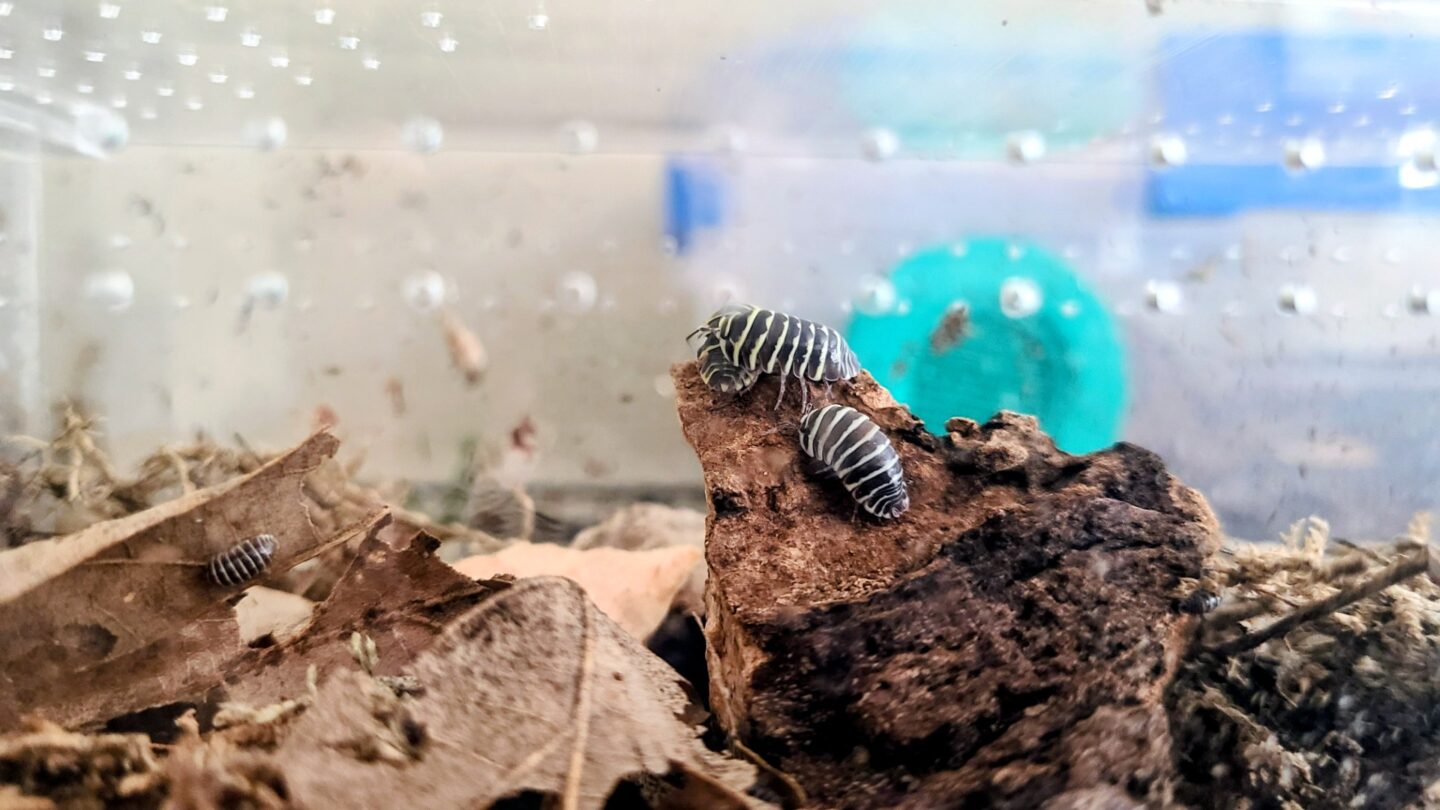
Dig around in any wood mulch, turn over a rock or peep into a crack in the sidewalk in the summertime, and you’re likely to run into an isopod. Isopods have many regional names, such as roly pollies, pill bugs, sowbugs or woodlice. These crustaceans are harmless to humans and are often the first “bugs” children fall in love with. Some people, including myself, have taken that love into adulthood and have entered the world of raising isopods as a hobby.
There’s More Than One Isopod
In Nebraska, we have 10 formally documented species of isopods. The most common of these are common woodlouse, powder blues, curly woodlouse, Rathke’s woodlouse and nosy pill woodlouse. The common woodlouse is the only species we have that can roll entirely into a tight ball and is characterized by the light-yellow dots present on many females.
All terrestrial isopods in Nebraska were introduced from Europe, Asia or Africa and are not on our state list of invasive species. They are excellent decomposers and, like millipedes and earthworms, break down dead plant and animal matter.
Habits of the Common Woodlouse
Every isopod species has its own unique quirks, but we’ll focus on the species you’re most likely to see in your backyard: the common woodlouse. Female isopods and kangaroos have one thing in common — a pouch. This pouch is where the young isopods, called mancae, stay from 8-12 weeks. Brood sizes vary with larger females producing more mancae.
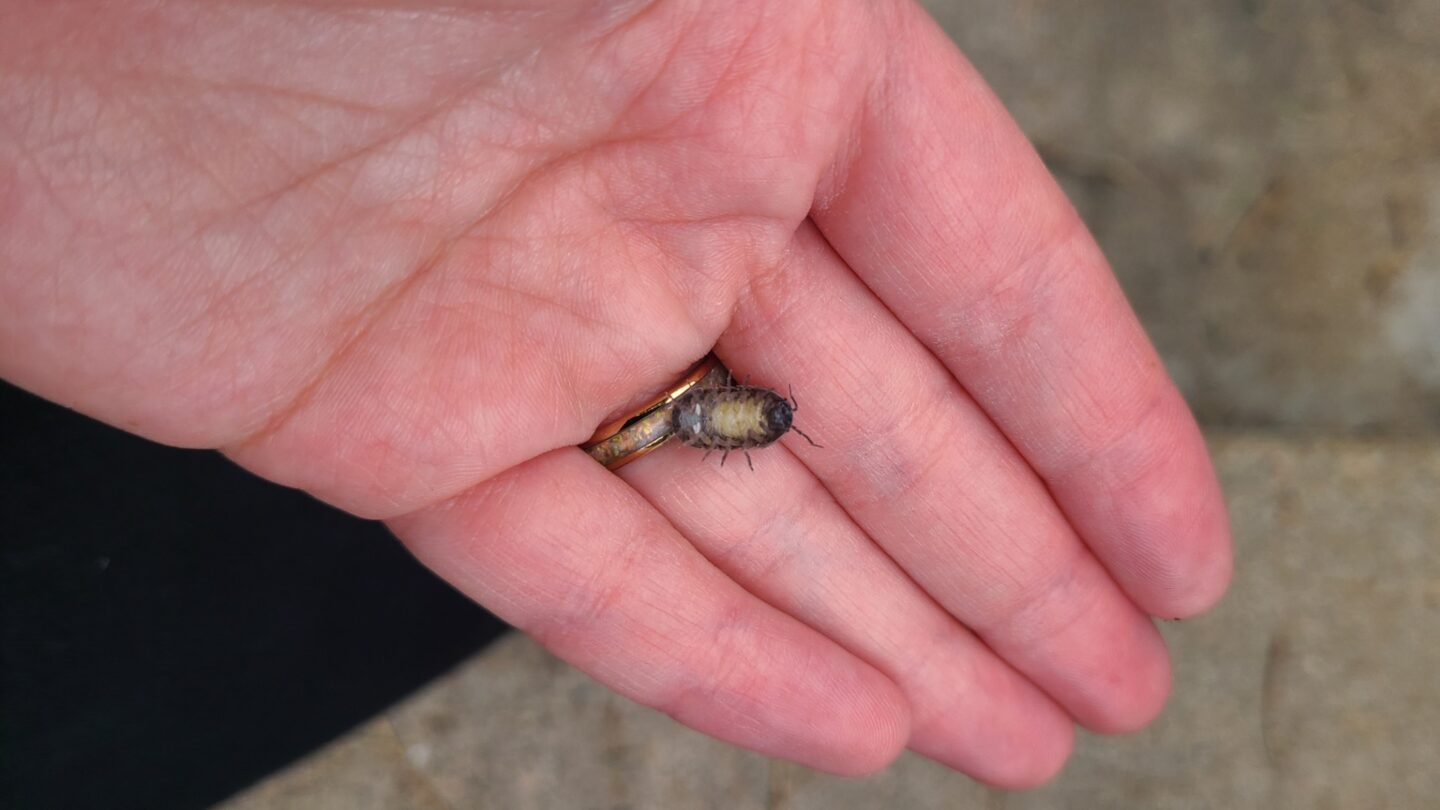
After they’re born, young isopods shed their exoskeleton several times before reaching maturity, a process called molting. Isopods molt throughout their lives, but they molt more frequently in their early lives. As a survival mechanism, molting is biphasal, meaning they will shed one half of their exoskeleton at a time. The half of the isopod that is molting is unable to move, but the other half retains mobility. This helps to balance out the energy the isopod needs to molt and also allows them to escape if a predator is nearby.
Aggregation
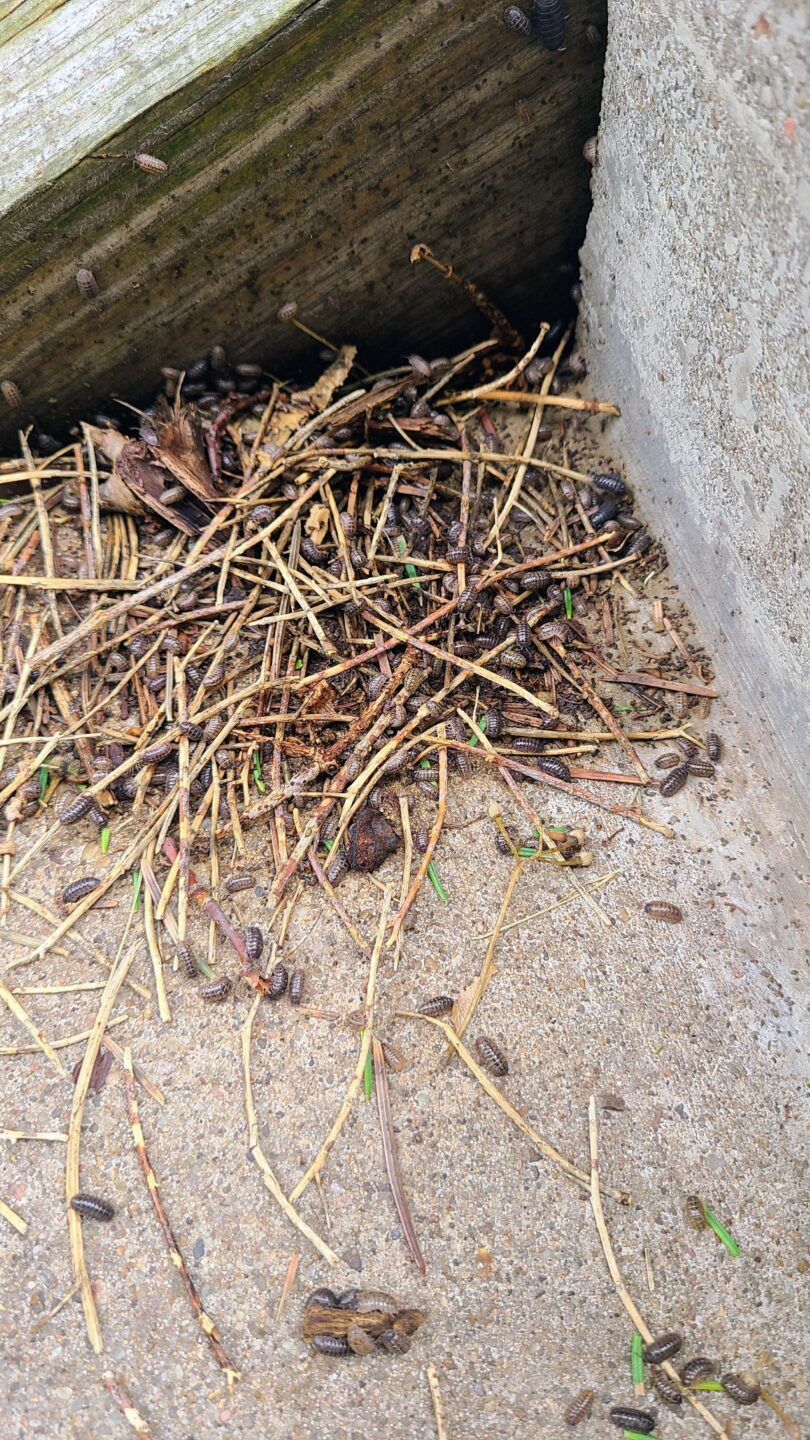
If you ever see a group of isopods together, they might be aggregating. Aggregation is a handy survival tool that allows the isopods to retain moisture in dry conditions and stay warm on cooler days. It also allows the females to easily find a mate. Females aggregate together and release pheromones to attract males, making mating during drier conditions easier for the colony.
When a male is pursuing a female, he sits on her back for hours — females are usually larger than males — and gently taps her sides with his feet until she is receptive. Isopods have many partners over the course of a breeding season.
Isopods as a Hobby
Why get your child a goldfish when you can get them a box of cute little crustaceans? Isopods make wonderful first pets because they’re cheap, take up little space and are relatively low-maintenance.
Isopod-keeping was first introduced as a way to maintain exotic pets, such as snakes and lizards, as a source of food and a reliable cleanup crew for tanks.
The collection and keeping of isopods as a formal hobby didn’t start to gain traction until the 1990s, taking off in the 2010s. Especially adorable species, like the “rubber ducky” isopods, sent the hobby into the stratosphere. These “rubber duckies” immediately captured the hearts of a whole new generation of isopod keepers because of their yellow, duck-like head and tail. More information is becoming available on a wide range of species every year, so there’s always something new to learn.
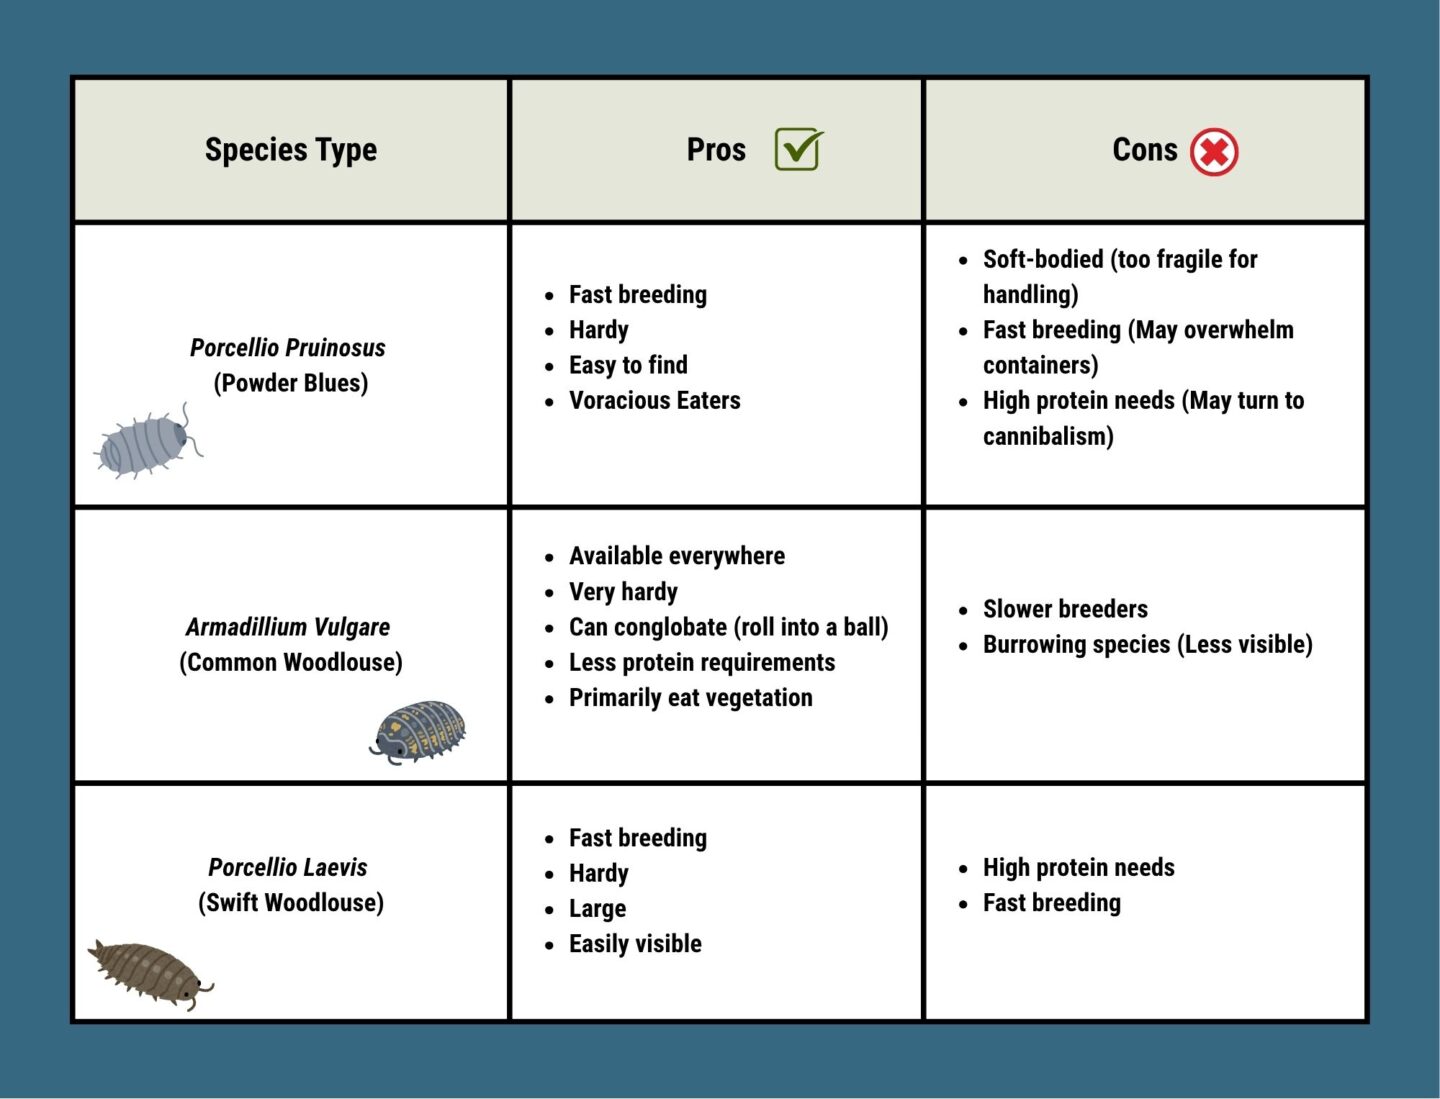
Starting an isopod colony is fun, educational and connects people with nature. But how do you get started? In my experience researching and raising these animals, I recommend raising three species: common woodlouse, powder blues and swift woodlouse. All have been recorded in the wild in Nebraska.
Setting Up Your Enclosure
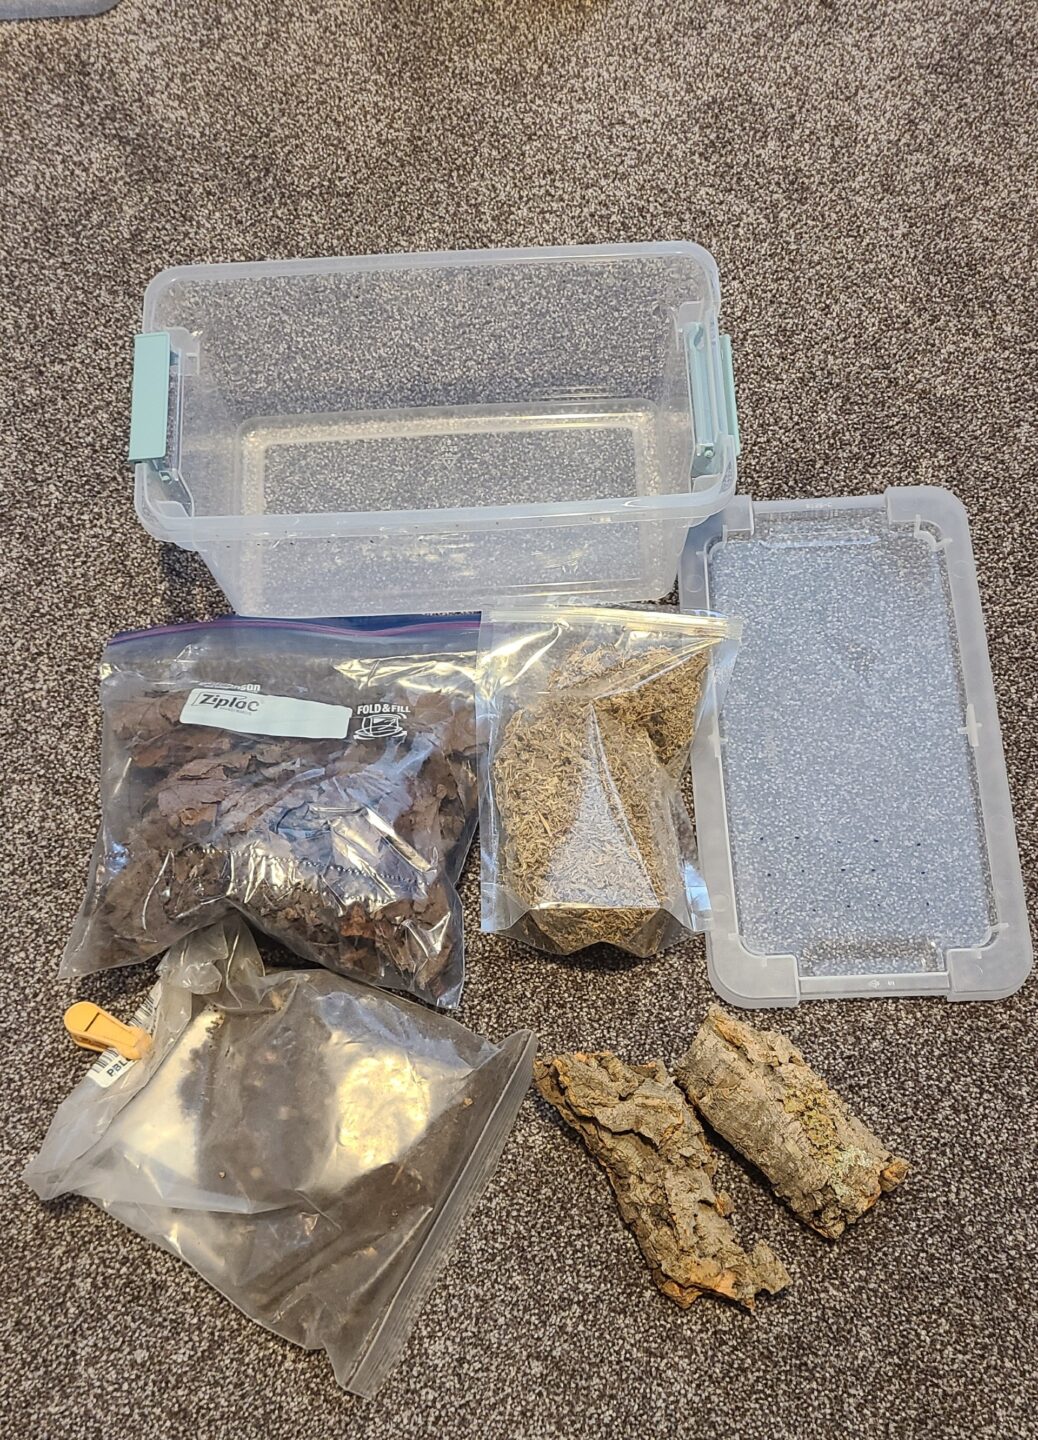
Isopods don’t need an elaborate enclosure to thrive. If you want to start a colony, you can begin with a simple 6- to 10-quart plastic shoebox. These can be found at stores like Target, Wal-Mart or Office Depot and are usually under $3.
Use a drill, or hammer and a nail, and puncture holes about 1 inch from the top of the box. The holes should be evenly spaced, around a half-inch apart. Isopods might be low-maintenance, but they still need ventilation and a good amount of airflow.
Then choose which side of the box where you will establish your “dry” habitat. This creates a moisture gradient that allows your isopods the choice between damp or drier conditions. On this “dry” side, add a second row of holes on the container. These should be placed about 1/2-inch underneath the first row of holes and similarly spaced. On the lid, place three rows of similarly spaced holes on what will be your dry half.
Substrate – Your Box of Dirt
Next, add in your substrate. With a simple web search, you can buy premade substrates online, or you can stick with a simple topsoil found at your local hardware store. In your container, the substrate should be at least 3 inches deep. You can add more for burrowing species, but don’t add so much substrate that it gets too close to the top of the container; if the substrate is too close to the ventilation holes, it may create an environment that is too humid and may allow isopods to climb out.
Moisture
A healthy enclosure should include a side that is moist, not soggy, and a drier side for isopods to go between depending on their needs. Add sphagnum moss to the “wet” side of the enclosure, which is great at holding moisture and provides additional food for the isopod colony. Use distilled water, or a water conditioner, and spray the wet side of the container semi-frequently, once or twice a week, and don’t soak it.
The dry side can be sprayed occasionally, as it shouldn’t be bone-dry.
Finally, provide the isopods places to hide. I’ve found lotus pods or corkwood work particularly well. Having multiple hides allows the isopods to choose between the wet and dry sides of the container according to their moisture needs.
What Do They Eat?
Less food is better early on because it can mold quickly. You’ll need a cleanup crew for your cleanup crew, so you’ll want to establish a springtail population by purchasing a starter culture. Springtails are found all over the world in areas of high moisture and humidity. These tiny invertebrates eat fungi, bacteria and other organic material. They are harmless to isopods and help to prevent mold growth in the enclosure.
Dead leaves are a must for any enclosure because it’s what isopods eat in the wild. You can order them online or you can sample some from your own backyard — if your backyard is free of pesticides. If you’re getting leaves from the wild, they need to be dry and baked at a low temperature, microwaved in short bursts or frozen to sterilize them and prevent unwanted contaminants.
Any leaves will work, but avoid plants that can be harmful to humans, such as poison oak or ivy. Crushed/pulverized eggshells, bone meal or cuttlebone are also essential sources of calcium, which strengthen their exoskeleton and ensure successful molting.
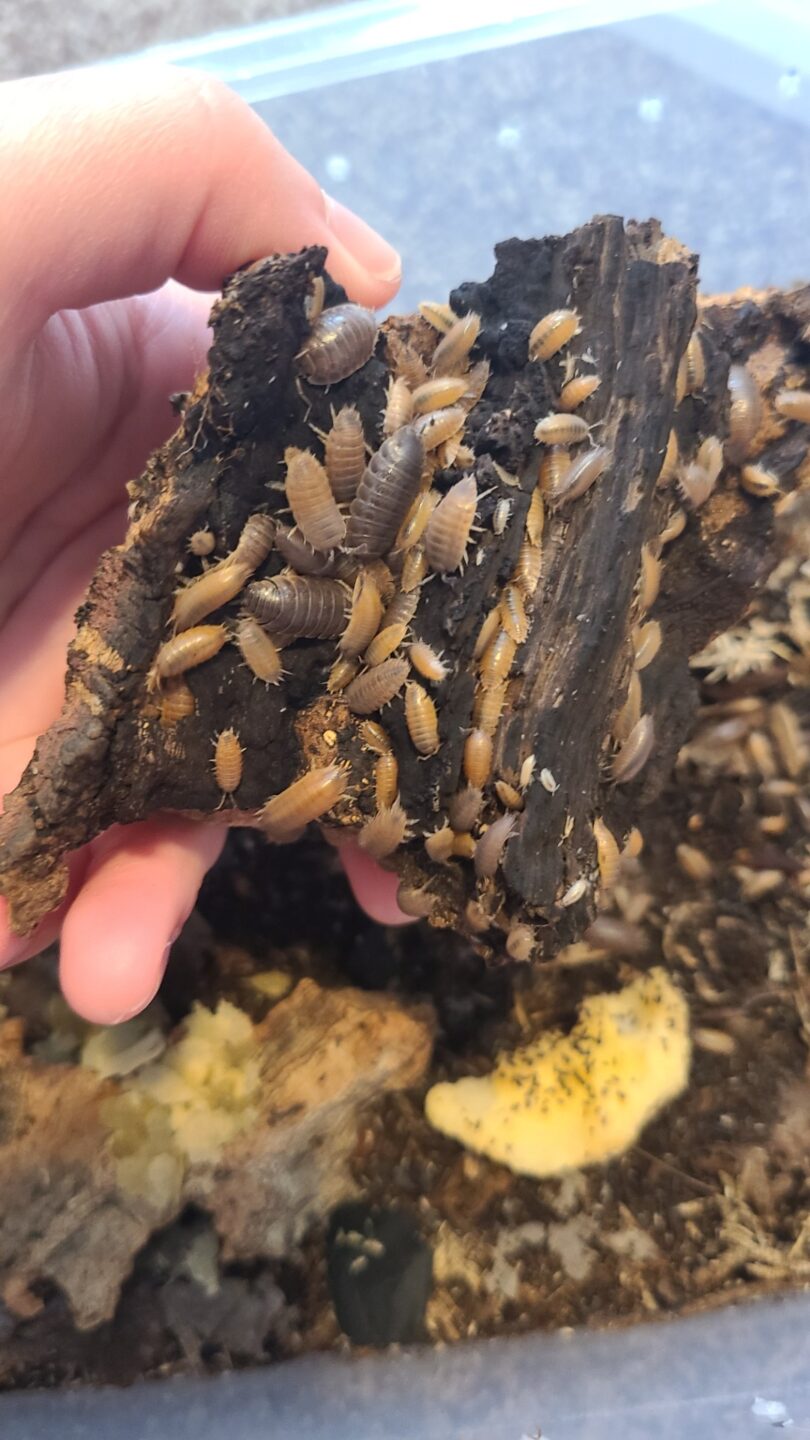
Also, try feeding them a variety of vegetables. I’ve found the most success with cucumbers, sweet potatoes and apples. I avoid fruits like strawberries because they get moldy after a day or two.
Some form of protein, like fish flakes or dried krill, should be offered regularly to provide a diverse range of nutrients. Species like the swift woodlouse or powder blues may be more protein hungry. Pay attention to your isopods. Whatever food disappears more quickly is usually what they prefer. Some may focus on leaves, others love vegetables and some will opt for protein before anything else.
I refresh my bins with fresh food as needed and check once or twice a week. Some keepers prefer to place their food in a special dish, but I have a dry piece of wood that I use. When the food is gone, I know it’s time to refill. I like to scatter the leaves throughout the container as a secondary food source. Don’t sweat feeding too much. In time, you’ll notice the specific needs of your colony.
Fun to Watch
Isopods are fun to watch but don’t open up the lid to check on them too frequently, because this can cause stress. They need time and privacy to make more isopods. Instead, look into the containers from the side, where you’ll get to see them eat, burrow and interact with one another.
These tiny arthropods have a lot of personality, and once you start observing them, it will become part of your daily ritual.