By Jeff Kurrus
For deer hunters, the decisions that need to be made are endless. Should I hunt the stand by the cornfield or the pine thicket? Should I stay up a little bit longer this morning? Should I take that shot or wait a split second longer?
Once the deer is down, and all the appropriate congratulations and photographs have been handled, you would think there would be no decisions left. But this notion is also incorrect. Brats or burger? Shoulder mount or European mount? Or, like the spot many of us have been in before — what else can I do with these antlers?
The last question becomes a fun one, as it’s quite easy to get online and see the endless possibilities hunters have for repurposing deer antlers, from practical uses to home décor.
We share a few of our finished favorites and how to get you started.
After the Hunt
Removing the antlers is a necessary first step, and there are three ways to do it. First, and my least favorite, take a handsaw and begin to cut in front of the deer’s ears but behind the antlers at a 45-degree angle. Then, make the same cut just above the eyes toward the end of the first cut. This wedge can then be removed. My apprehension for this method is cutting into the deer’s brain. Since I was a kid, I never liked the messiness of this step. However, with small bucks (pictured, left), a standalone desktop deer tag display can be created because of how well small antlers like these balance.


A second, and cleaner, option is to cut the deer’s head completely off below the throat. Again, with a handsaw, you’ll have to cut through the deer’s hide, muscle tissue and backbone, but it’s a relatively clean cut.
A slightly less cleaner cut is to open the deer’s mouth and separate bottom and top teeth until you cut completely through the rest of the muscle, bone and hide. My only hesitancy with this method is it reminds me of ’80s horror movies of my youth.
After you decide how you’ll remove the antlers, there are more decisions to make. You can go through the painstaking task of removing the buck’s facial hide, muscle fibers and brain tissue with a knife. From there, you’ll need to soak the skull in boiling water to loosen up the rest of the deer’s hard-to-remove fibers. I rarely enjoy this labor-intensive process.
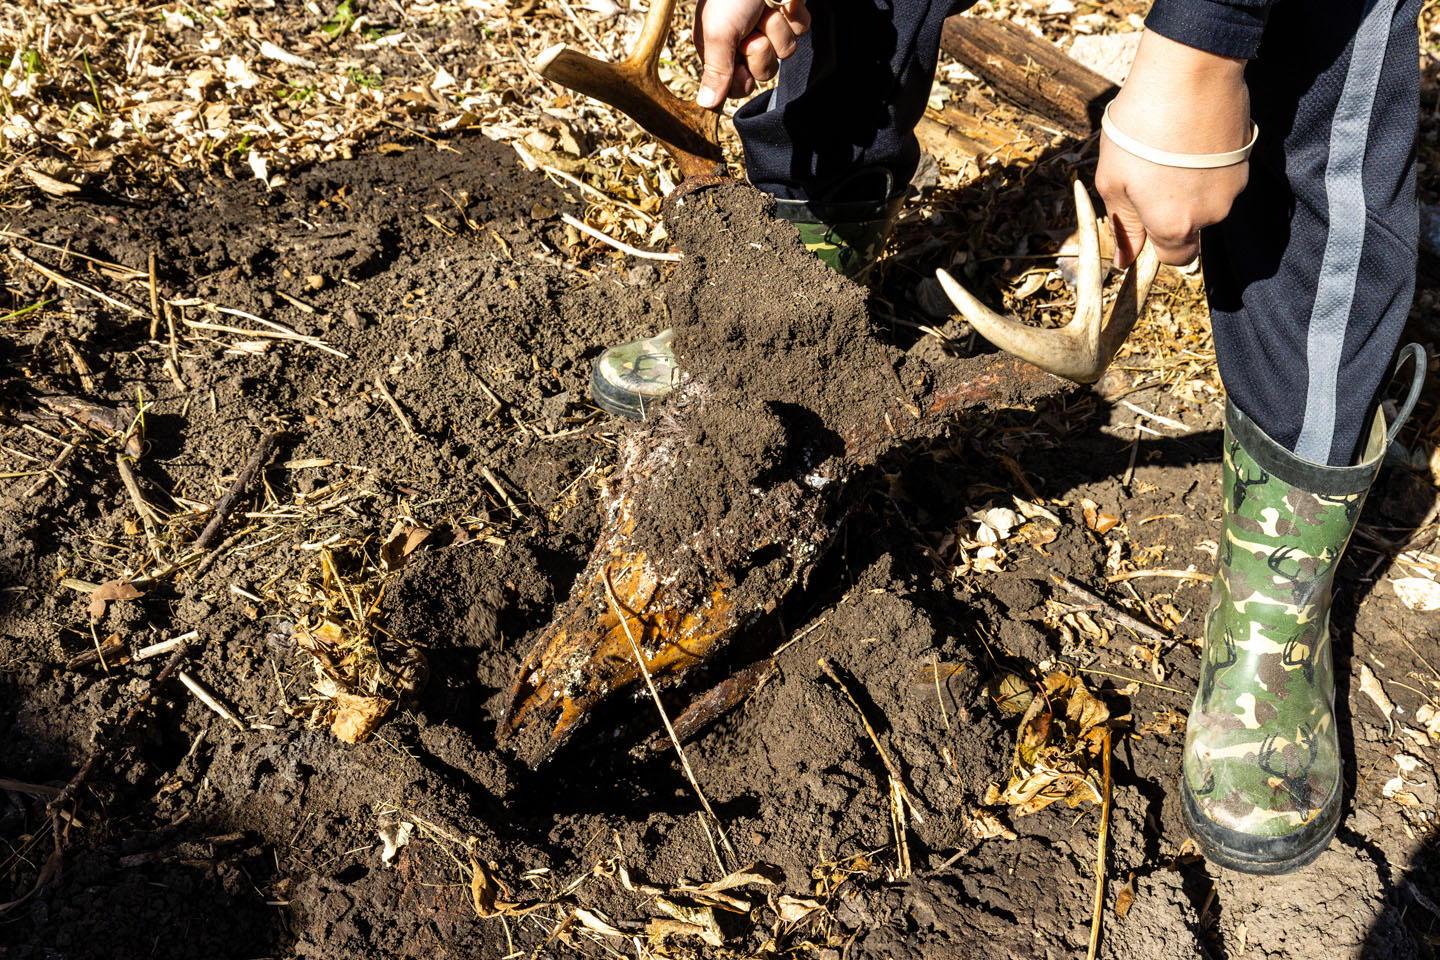
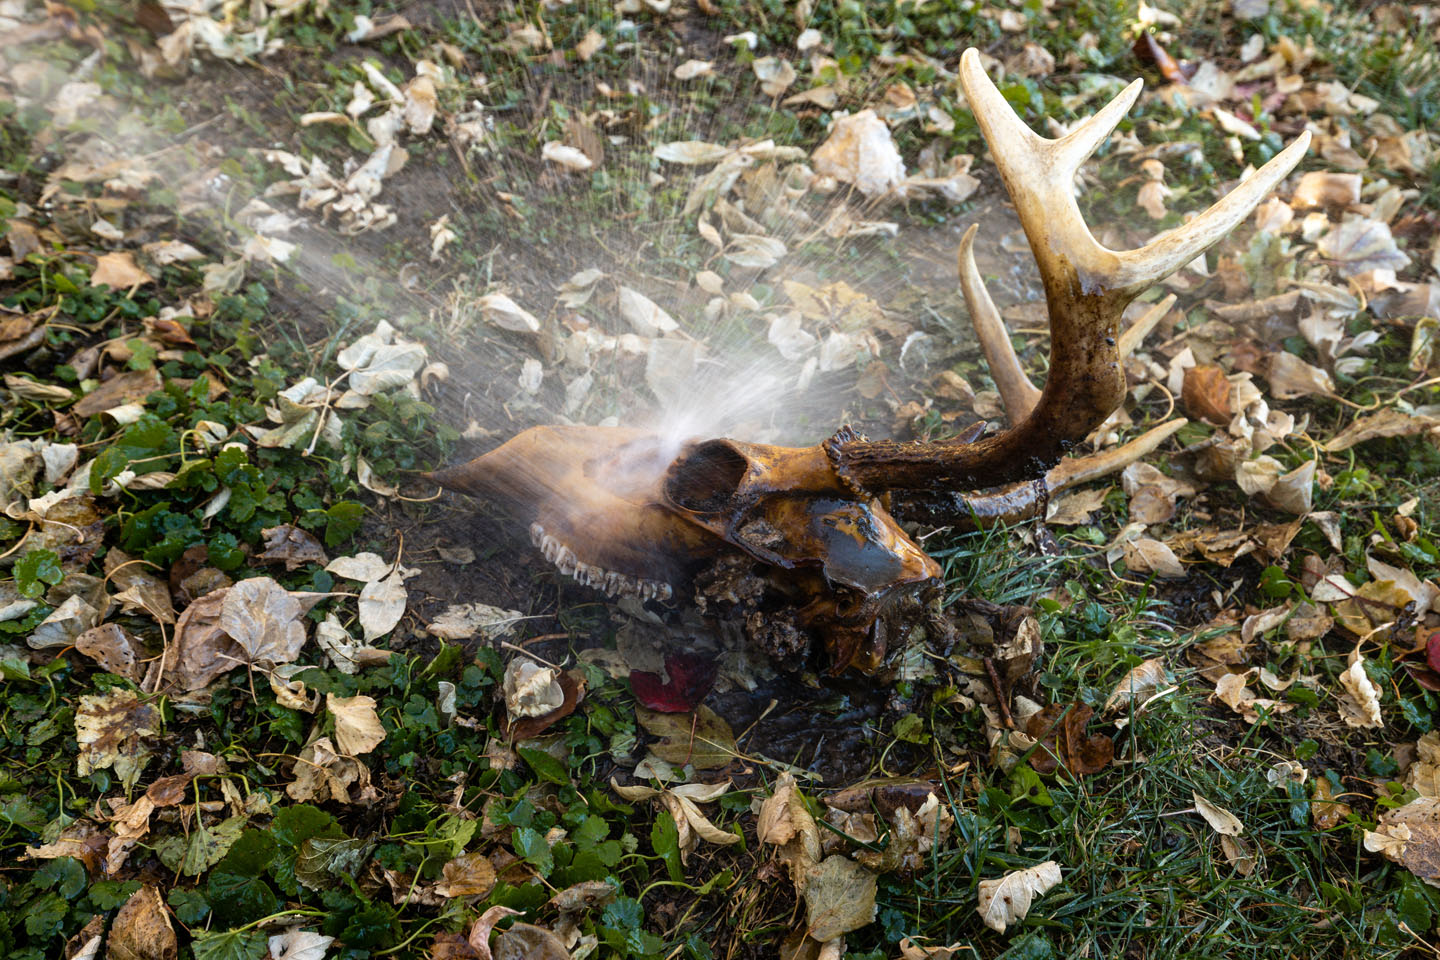
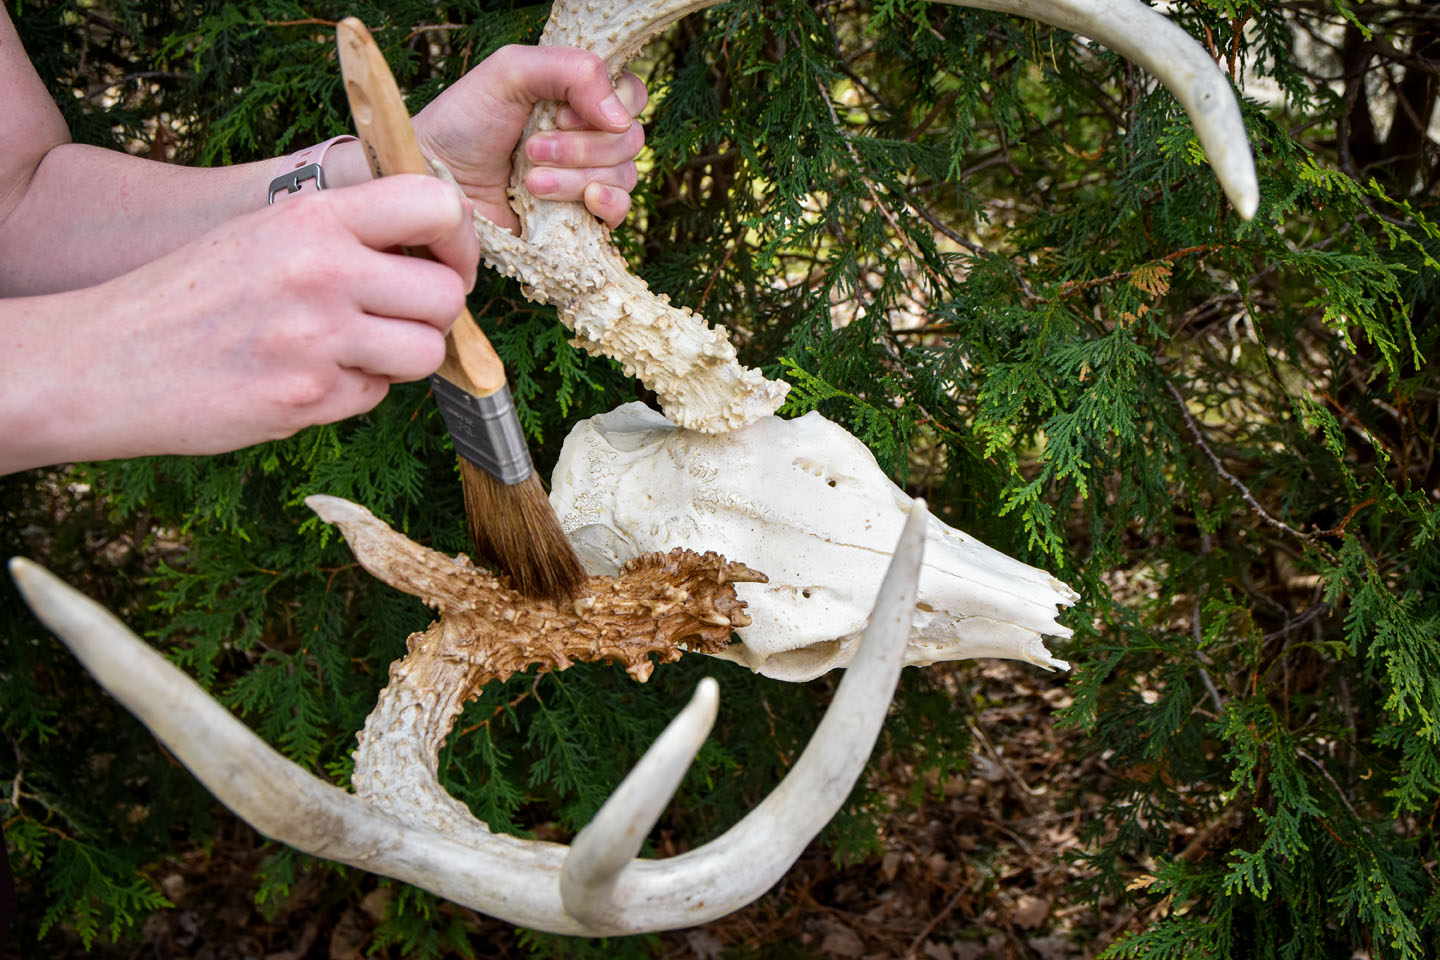
The technique I do like, especially if I happen to shoot a deer early in the season, is to remove the deer’s entire head, dig a hole in my garden, and bury the skull. I cover up the antlers with aluminum foil to prevent mice from eating them, and then place a bucket or large pail over the entire skull. Just before the ground freezes for the winter, I remove the skull, wash it with a hose and soak the skull in a combination of water and clothes fabric softener to remove any leftover odor. The final step is to dry the skull in the sun and stuff two scented dryer sheets in the brain cavity. Now it’s ready to display.
The last, extremely easy option of removing deer antlers is to take a fine-toothed saw and, starting underneath the pedicles, cut the antlers off at their bases. Choose this technique if you know you’re not going to hang your deer on the wall, but you still want the antlers for other uses, including rattling antlers for deer hunting.
Antler projects
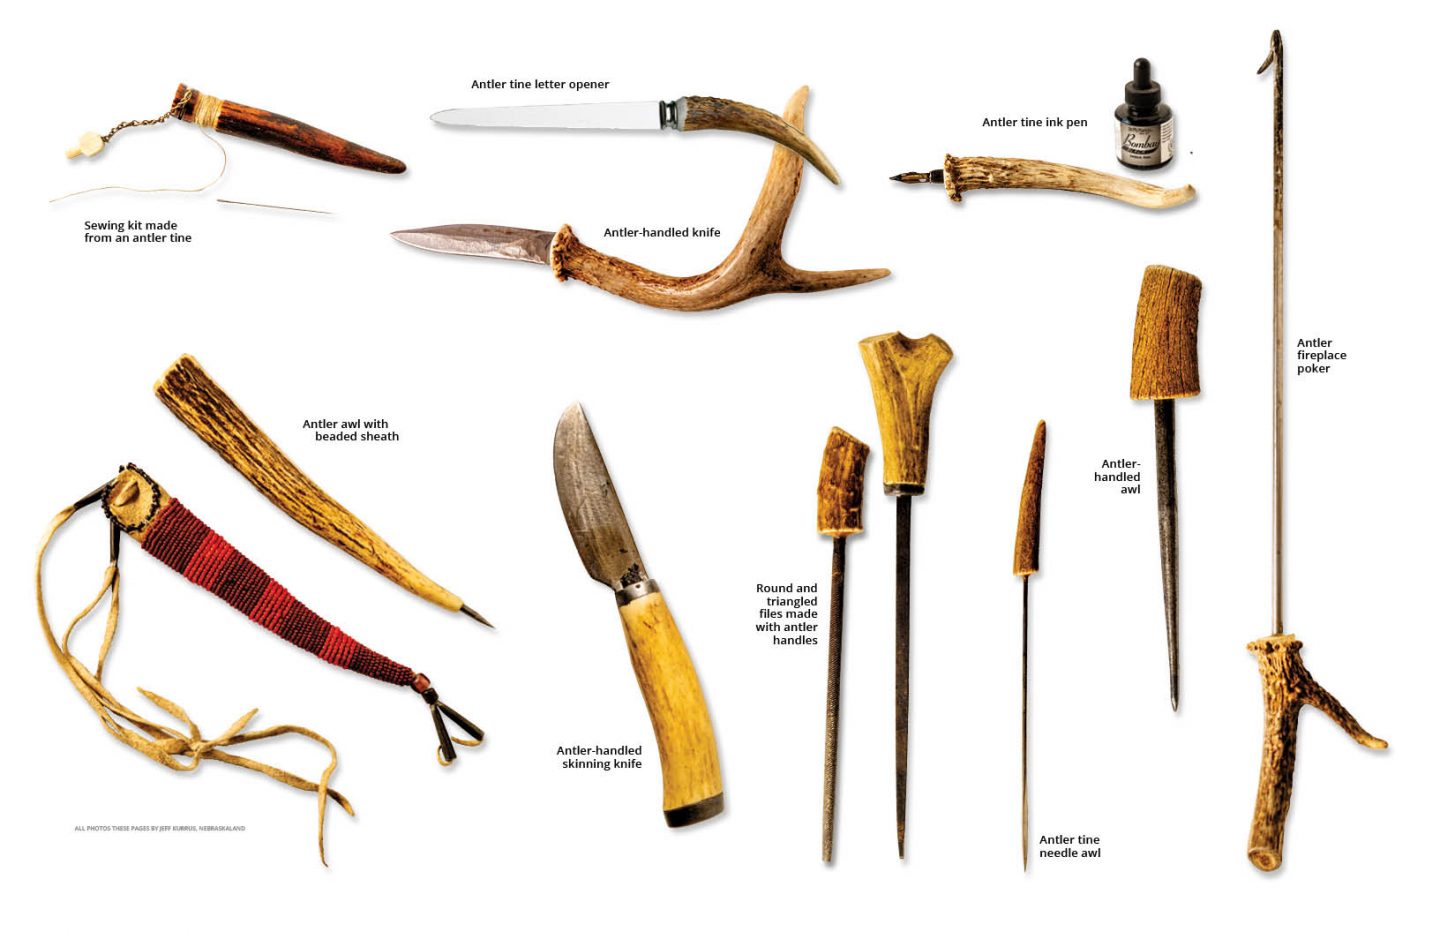
From fire pokers, letter openers and sewing kits to kitchen décor and mantel pieces, the possibilities for antlers are never-ending. Repurposing can range from the complicated task of creating an antler wreath to finding the perfect set of antlers to use as a tabletop centerpiece for Thanksgiving dinner.
Just don’t, under any circumstance, permanently keep them in a box somewhere never to be seen again.
Items and tools you may find helpful in making a European mount include:
- Handsaw
- Slow cooker (for heating and soaking)
- Fabric softener (for soaking)
- Aluminum foil (to cover antlers when burying)
- Furniture stain (to paint the antlers)
- Clothes dryer sheets (for the brain cavity)
- Twine or wire (for hanging)
Some of the tools you may find helpful in creating these projects also include:
- Fine-toothed saw
- Drill and bits
- Files
- Sandpaper
- Epoxy

Chronic Wasting Disease
By Justin Haag
Chronic wasting disease has changed the game for those who want to display their big game trophies. These processes involve the brain and the spinal cord, where the stubborn prions that cause CWD accumulate most. People should take proper precautions for handling and disposal, especially in areas where the disease is known to exist.
Disease experts recommend wearing gloves and a mask, and soaking the skull and all equipment in a solution of 50 percent chlorine bleach and 50 percent water after tissues have been removed. In places where CWD rates are high, your best, and easiest, move may be to remove the antlers and affix them to one of the many faux skull options available from retailers like these shown.
