By Justin Haag
Many a fly angler knows the satisfaction of catching fish on a hand-tied masterpiece. For those more inclined to cast and retrieve for pike, bass and walleye, here is a way to emulate that remarkable experience: painting crankbaits.
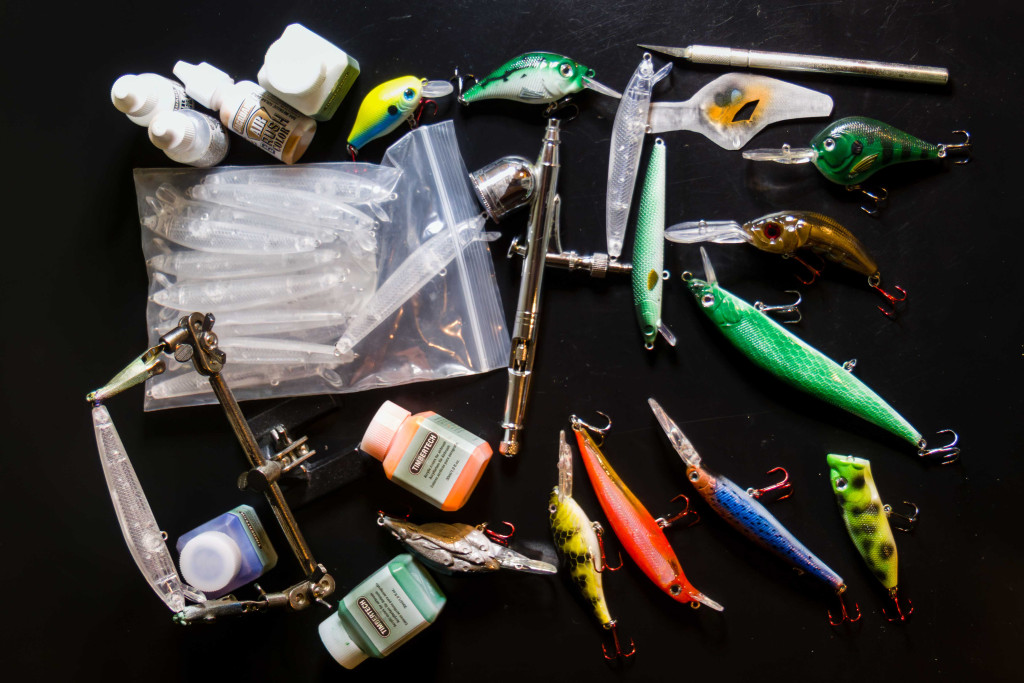
Quality crankbaits are some of the most expensive products to tie to the end of a line. At $5-20 each, losing one to a deep snag can put a damper on a day of fishing. Alas, unpainted plastic crankbait blanks resembling many beloved models are available online at $1 or less each. Simply put, you can just add paint and hooks and get them to the water.
If you are like me, you may be reluctant to trust your limited artistic abilities to something as important as catching a fish. Thankfully, with crankbaits, an exquisite appearance is not imperative.

The Art Critic
Even though I do not hold a degree in aquatic psychology, I can safely surmise fish are not art critics. Just as I do not place a lot of critical judgement on the appearance of a cheeseburger at a fast-food restaurant when I’m hungry, most fish seemingly do not closely scrutinize the details of a moving crankbait. If something buzzes by that looks like suitable prey and the fish is hungry, there’s probably not a lot of internal debate, i.e. “I’d bite, but that orange on the pectoral fin is a little too dark, and the design isn’t quite symmetrical.”
The quality of the paint job is more for self-satisfaction, and for impressing others in the boat.
The Essential Airbrush
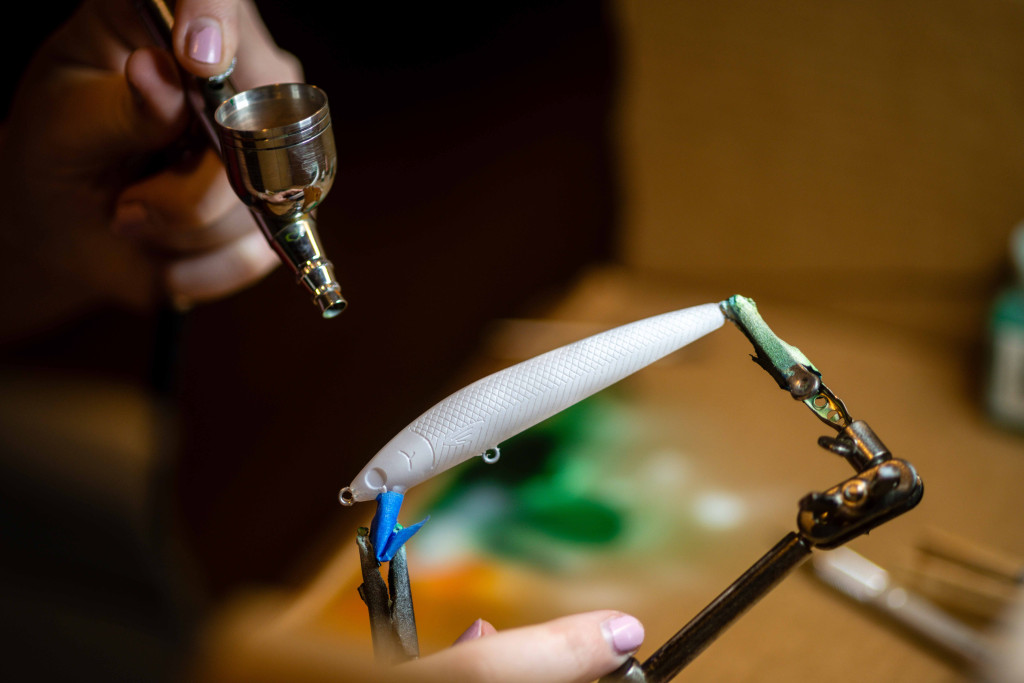
With those factors in mind, I invested about $40 in the favored tool of crankbait painters: the airbrush. It’s certainly not a high-end model, but works well for the task. Thankfully, I already had an air compressor in the garage to power it. Another $20 for a set of assorted airbrush paints, and I was on my way.
I’m partial to crankbaits that look like common prey in nearby lakes — young-of-the-year bluegill, yellow perch, pike and bass darting in and out of shallow vegetation, or schools of shad rising to the water’s surface.
The college science professor who got me going on this hobby noted that almost all vertebrates have a pale underbelly. With that in mind, white makes a logical base coat.
Adding colors above the belly is where the artistry begins. With just a little practice, an airbrush can create the subtle transitions between colors, as do the scales of fish.
A few common tricks can help make that clear piece of plastic evolve into something resembling an aquatic creature.
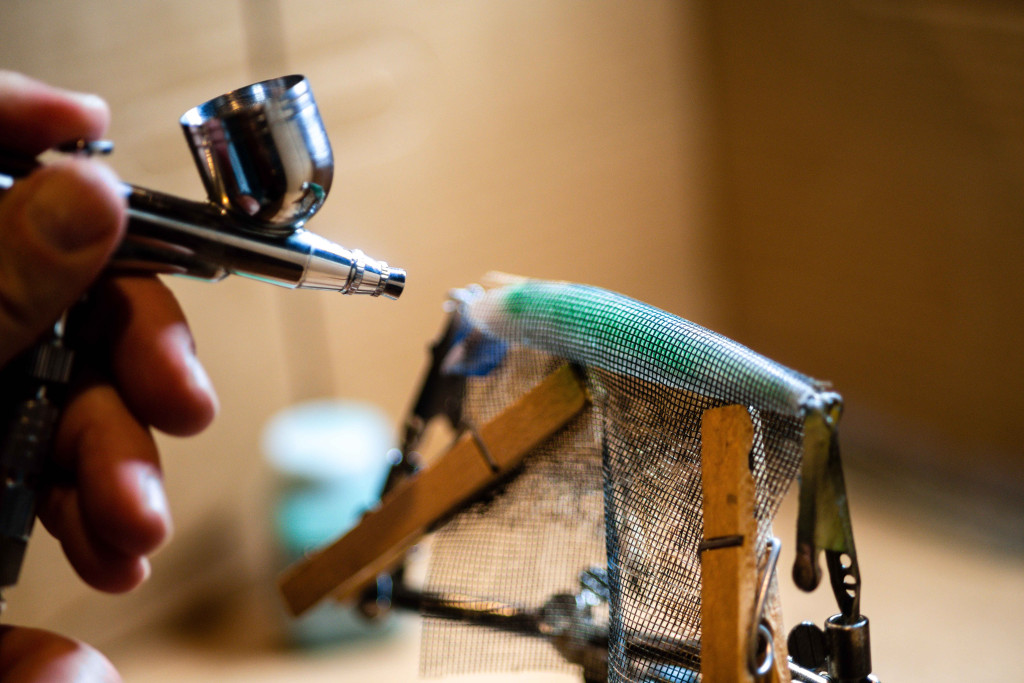
Scales can be emulated by painting over mesh material wrapped around the crankbait’s body and secured with a clothespin or paper clip. Sure, you can buy mesh material, but it also exists on a wide variety of surplus clothing and other items. My go-to is the material from a synthetic loofah — you know, the sponge-like product found in many a bath and shower.
Create stencils to paint in details such as fins and scale patterns. Serious crankbait painters use stencils created by a 3D printer, but one low-budget approach also works well. By placing the actual crankbait blank on a copy machine, the start of a true-to-size 2D stencil is created. Fins and such can be cut from the paper image with an X-Acto knife, and irregular black lines and spots such as those on a largemouth bass or crappie, can be created with a wood burner (don’t set the house on fire). Once the holes are made in the paper, just hold the stencil over the crankbait while painting.
What the Fish Sees
One age-old crankbait question: Is it better to mimic common prey or go for a non-life-like design. A visit to the crankbait section at the sporting goods store makes it obvious: “It depends.” Or, as the store would like you to believe: “The more the better.”
Fish vision is said to be 80 percent less powerful than terrestrial species just from the eyes being in contact with water instead of air. Add other factors such as turbidity and depth, and color becomes even less important.
However, with so many of Nebraska’s lakes being relatively shallow, color may be a determining factor in coaxing a bite, especially in waters that are clear.
All colors become less discernible the deeper the water is — some more than others. Reds and oranges are the first to become dull as light diminishes, followed by yellows and greens. Blues and blacks are regarded to be best at maintaining visibility in deep waters.
It may pay to have a bait that draws attention rather than mimics other fish species. Sharp contrasts between colors can make a bait stand out, such as the dark circle you see painted on the side of many manufacturers’ brightly colored baits. Wherever light reaches a bait, reflective finishes of silver and gold may shimmer enough to catch a fish’s attention.
With surface lures, such as poppers and frogs, experts agree that color does not matter much. All that is seen from below is a dark silhouette against a bright sky. Dang, it is fun to paint frog patterns, though.
The Final Touches
Once the paint has been applied and dried, protect the work with clear coat. Of course, commercial products are available for this step — KBS Clear Diamond Finish seems to be popular among serious bait painters. At the advice of other crankbait artists who are in it more for utility, a suitable alternative resides in the beauty section of Walmart. The Sally Hansen Xtreme Wear clear nail polish gives the baits a glossy finish and protects them at a reasonable price. And, I like that it has Xtreme in the name.
Finally, add treble hooks. Choose hooks small enough that do not catch on one another, or the line, during a cast. Also, use hook sizes that allow the bait to move as intended. A set of split-ring pliers will save your fingernails, coated with Sally Hansen or not, while installing the rings.
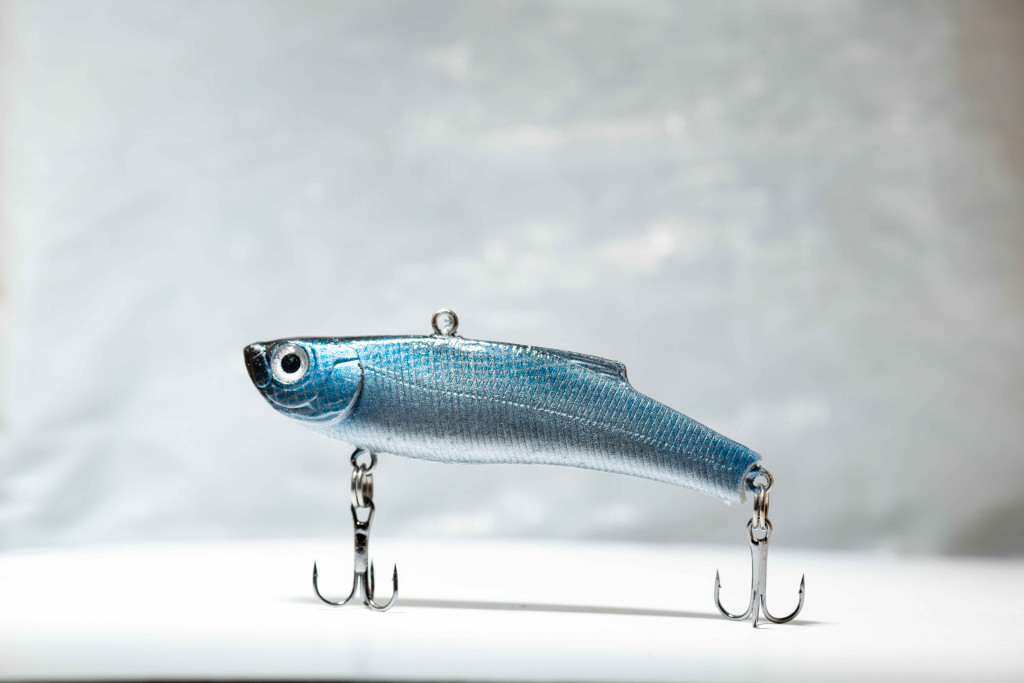
With hooks installed, it’s time for the most important step — presenting those masterpieces to the fish.
Be sure to pack the cooler with snacks and beverages suitable for the opening of your prestigious art show. A beret is optional.
