
By Greg Wagner
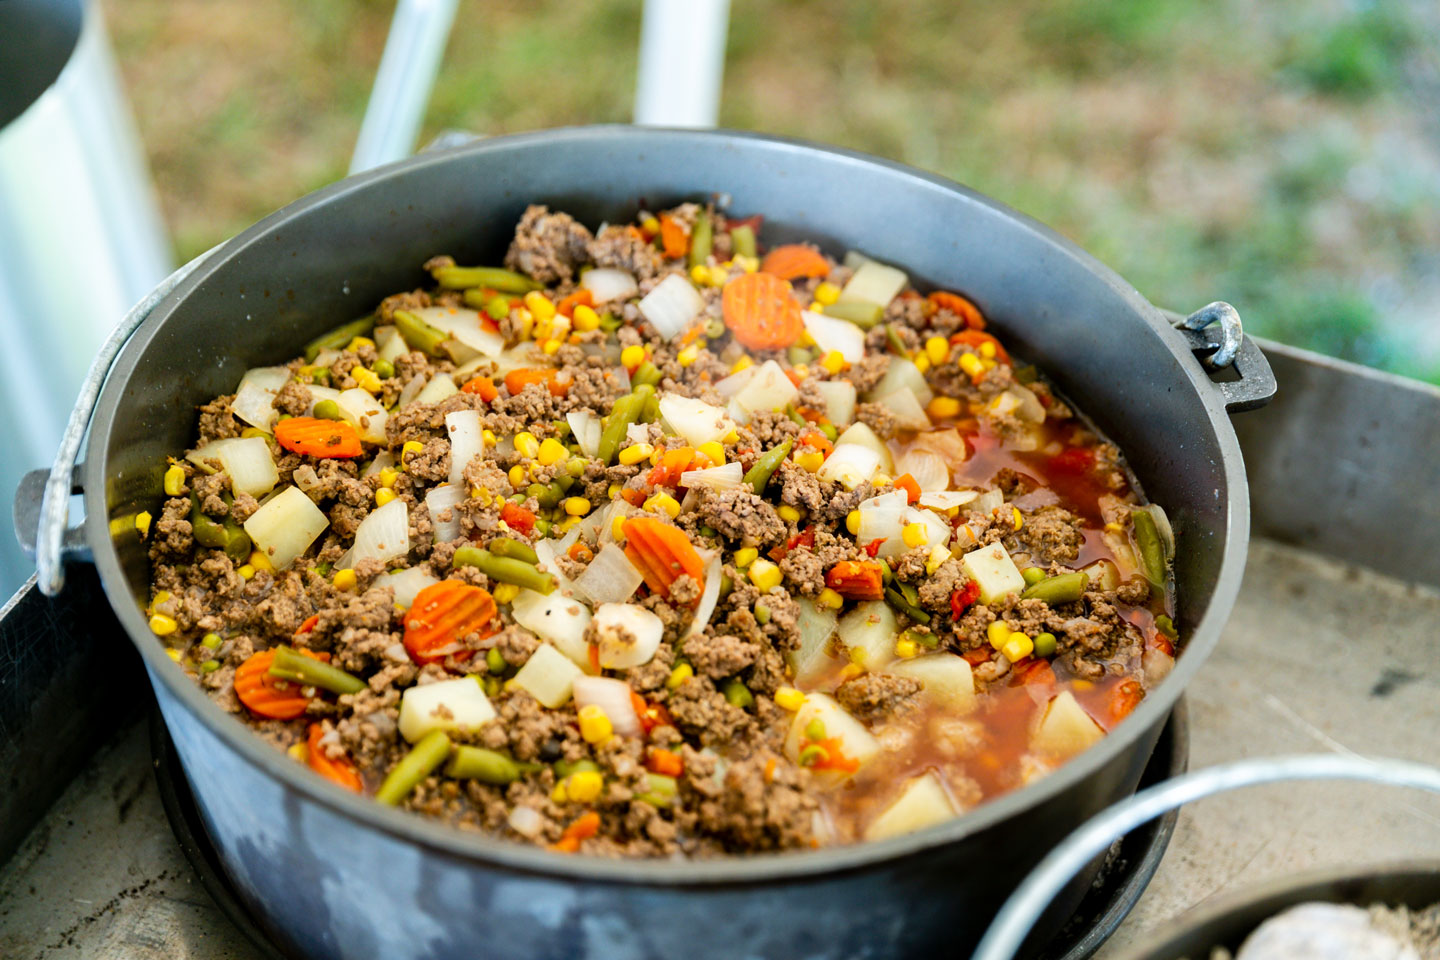
Spring is quickly approaching and there is nothing more satisfying than sitting by a campfire and enjoying a hearty meal from a Dutch oven.
These simple, one-pot meals will give your taste buds a treat and a full stomach.
Dutch oven cooking offers tried-and-true pieces of American history have not changed much over the years, and a quality oven can last a century.
Many new campers and outdoor enthusiasts alike are anxious to learn how to cook in them.
It seems there is so much to know about cooking with a Dutch oven. That heavy, cast-iron, deep-dished cooking pot with its three legs and rimmed lid can sure be intimidating and mystifying. Not to mention what you have to do with all those charcoal briquettes!
Over the years, we have had many fabulous Dutch oven cooks associated with the Nebraska Game and Parks Commission.
For this blog, I turned to longtime friend, avid outdoor enthusiast and Nebraska Game and Parks Commission colleague – Christy Christiansen. You see, Christy, a fellow Bellevue University alumnus, is an outdoor education specialist with our agency and a real pro at Dutch oven cooking. She offered to simplify and demystify the rewarding and delicious art of Dutch oven cooking and offer up some tasty recipes as well.
Here is the interview I did with her, along with several of her favorite recipes.
Dutch Oven Q&A with Christy Christiansen
GW: What do I need to know about buying a Dutch oven?
CC: A Dutch oven is intended to cook with coals on top and underneath to create an oven effect of the heat surrounding it. Make sure the oven lid has a lip around the edge to keep the coals from falling off and 3 legs. If you have one without legs you can use a trivet made for a Dutch oven. A good size for a cast iron Dutch oven is 12-inches and can feed 6-8 people. A 10-inch Dutch oven is great for cobblers. Well-known brand-names are Lodge, Cabela’s, Camp Chef, and Texsport. Don’t pass up an old rusty oven you find at a yard sale with names like Wagner or Griswold. It is a piece of history! Cast iron without dates, name brands or origin were made prior to 1950. Just a bit of elbow grease (hard work) will bring it back to brand new.
GW: Do I need to season the Dutch oven?
CC: Most new Dutch ovens are pre-seasoned or cured but like everything else you buy; it will need a good scrubbing. The first time you use one, you can use soap (BUT JUST THIS ONE TIME!). Wash and scrub thoroughly with a scrub pad. Heat, dry and coat inside and out with Crisco or another cooking oil and you are ready! Best to cook bacon or hamburger for the first entree, too. The excessive bacon and burger fat will further help to season the oven as it gets hot.
GW: Is a Dutch oven complicated to use?
CC: No, not at all! If you like making one-pot meals it is an excellent, easy way to cook. The Dutch oven, called the great camp cooking pot, is safe, durable, and versatile. It heats evenly and holds in moisture and flavor.
GW: What are the key things to know about cooking with Dutch Ovens?
CC: Learning how to determine and maintain temperatures are the big keys. Buy a better brand of charcoal briquettes like Kingsford. For getting the briquettes hot, use a charcoal chimney starter. The advantage of a charcoal chimney starter is that you can get the coals started quickly and heated as evenly as possible.
Use the Dutch oven rules of thumb for cooking with charcoal. Have 2 or more briquettes or coals than the size of the oven on top and 2 or less underneath. The 12-inch oven has 14 coals in a circle on top and 10 on the bottom. The other rule: 1 charcoal briquette = 25 degrees. Most Dutch oven recipes call for cooking at 350 degrees.
Also, keep the lid on tight and try not to peek during the cooking process, remember this is an oven. It takes a while to heat up, but it maintains the heat well. Employ a lid lifter made for ovens or a hammer, wear welding gloves or thick leather oven mitts and no open-toed shoes. Think safety, be cautious and don’t burn yourself or start a wildfire!
If you have no way to properly contain your Dutch oven and charcoals for the cooking process, know that a round, large, galvanized poultry-watering pan works well for that. Farm-supply stores sell these 16-inch wide, 5-inch-deep metal pans. When finished, make certain to cool all the coals with water.
A few more things to note.
For stacking Dutch ovens, three are common (add a 14″ on the base) but two can be used just fine. The bottom one is a 12″ and a 10″ is on top. Be sure to have a good amount of charcoal going when planning to stack them. The coals on the lid can be counted towards the coals of the bottom of the oven on top.
Keep in mind that your seasoned Dutch oven lid can make a wonderful pan for cooking by setting it upside down on a bed of coals (great for cooking pancakes). One of my Dutch ovens has legs on the lid so I can easily flip it over & use for a skillet. Don’t submerse a hot oven in cold water because it can crack. Never leave food sit in the oven after cooking as the food will pull off the seasoning and can rust.
GW: How do I clean the Dutch oven?
CC: The best way to clean a Dutch oven after scraping out excess food and while the oven is still warm, is to pour water in the pot and scrape with a wooden spoon or spatula. You can always heat up the water if food is really stuck to it. Dump the water out and scrub it out with a green scruff pad and add water, if needed, then rinse. Heat the oven up to dry and then coat with Crisco or similar cooking oil. One trick I learned recently is to wipe out the excess oil with a soft cloth/t-shirt before storing. This prevents the oven from getting sticky.
GW: Can I cook outside with Dutch ovens in late fall and winter?
CC: Absolutely! Cast iron can withstand wear and damage as long as it stays dry and is clean when stored. Keeping your Dutch ovens in a storage bag made for them works really well. I place the lid on the bottom of the bag and set the oven on top. Place newspaper inside the oven to absorb any excess moisture. You can cook with Dutch ovens year-round, no problem.
GW: Are there limits to what I can cook in a Dutch oven?
CC: Anything you can make in your oven at home, you can make in a Dutch oven. There are no limits! Be inventive! I have made pot pies, pizza, bread, brownies and even enchiladas!
GW: What are the advantages of cooking with a Dutch oven at a campsite fire ring or in your backyard fire pit?
CC: I like the fact that you can leave it cook while you are doing other things. Backyard fire pits ring are great during late summer and early fall, so you won’t heat up the house when you really want to bake a cake or something else. Dutch ovens also mean less equipment to pack when camping. I bring one Dutch oven and a cast iron skillet and make just about every meal in them while we are camping.
GW: Can I cook on the stove with a Dutch oven?
CC: Yes, but if you are baking something you will want to put it in the oven. I use cast iron skillets and Dutch ovens daily at home. I prefer to utilize my gas range, but I do know several people who use electric stoves and cook with them carefully on a glass top.
GW: What are among the better recipes for Dutch oven cooking?
CC: I like a mountain man-style breakfast with everything in it such as potatoes, bacon, sausage, onions, peppers, eggs and of course lots of cheese! Many folks, including myself, enjoy making cobblers in Dutch ovens.
Christy’s Favorite Dutch Oven Recipes
APPLE CIDER MONKEY BREAD
- 5 envelopes (0.74 oz each) instant spiced cider mix
- 3 tubes (12.4 oz each) refrigerated cinnamon rolls w/ icing
- 2 medium Granny Smith apples, chopped in bite sized pieces
- 1 cup chopped pecans
- 6 tablespoons butter, melted
- 2 teaspoons ground cinnamon
Directions: Prepare a 12” oven by coating with oil/shortening & start coals. In a small bowl or a Ziploc bag pour in cider mixes. Separate cinnamon rolls, cut each roll into quarters, squeeze pieces so they don’t fall apart. Add to cider mixture; toss to coat. Arrange a third of the dough pieces in the oven; top with half of the apples and half of the pecans. Repeat layers once. Top with remaining dough. Melt butter, cinnamon and icing from 1 container until blended. Drizzle over top of rolls. Arrange a circle of 10 coals (1 in the middle) and place oven on top. Place lid on top (do not line up steam vents) add a circle of 14 coals on top of lid (two in the middle) Bake for 20 minutes.
Check monkey bread by turning the lid and lining up the steam vents. Turn the whole oven ½ way in the opposite direction you turned the lid to distribute heat. Bake for 10 more minutes. If bread is not golden brown and still gooey add 4-6 more coals on top and bake for 5-10 more minutes. Drizzle remaining icing over monkey bread and serve.
Note: This is a great recipe to double or triple for large crowds. Make sure you increase the size of your oven for each additional set of ingredients (double recipe: use a 14”, triple: 16”, etc.)
EZ DUTCH OVEN ANGEL FOOD COBBLER
- 1 can pineapple tidbits
- 1 angel food cake mix
Directions:
Coat bottom of 10” Dutch Oven with Crisco or Pam. Stir all ingredients together until well mixed. (Do not drain fruit.) Cover with lid and set on a small ring of coals-8. Cover the lid with 12 coals. Turn the oven after 15 minutes to ensure even baking. Cook at about 350 degrees for 30 minutes, or until the cake is brown on top and is spongy when cut or poked.
CHEESY CORNBREAD CASSEROLE
- 2 boxes Jiffy Corn Bread Mix
- 1 can corn (drained)
- 1 can cream corn
- 1 stick butter (sliced in pats)
- 2 cups shredded cheddar cheese
- 1 small can diced green chilies (drained) *optional
Directions: Mix ingredients together and pour in a greased 10 inch oven. Set Dutch oven on a small ring of 8 charcoals. Cover with lid and top with 12 charcoals. Turn the oven after 15 minutes, line up steam vents to ensure even baking. Bake for 25-30 minutes, or until the cornbread is done in the center.
DUTCH OVEN VENISON PARMESAN
- 1 ½ pounds venison steak pounded
- 2 cups Italian style breadcrumbs
- 1 tsp Italian seasoning
- 1 cup parmesan cheese
- 2 eggs beaten
- ¼ cup olive oil
- 1 large can tomato sauce
- 1 onion slice
- 1 green pepper slices
- 1 large can or 1 cup fresh sliced mushrooms
- 2 cups shredded mozzarella cheese
Directions: Mix bread crumbs, Parmesan and Italian seasoning. Dip steaks in egg mixture and coat in bread crumb mixture. In heated 12” Dutch oven (stove top or over an outdoor heat source) brown meat on both sides in olive oil and remove from the oven. Sauté onions, peppers, and mushrooms in ¼ can of tomato sauce in the oven until heated through. Return meat to oven. Cover with remaining tomato sauce and top with cheese. Place lid over a ring of 10 coals and top with a ring of 14 coals. Bake for 20 minutes.
Did You Know?
- American Patriot and Silversmith, Paul Revere, is credited with the unique design of the Dutch oven’s flat lid with a ridge for holding coals as well as the addition of legs to the pots of the Dutch ovens.
- George Washington himself was quite familiar with Dutch ovens. His army relied on them heavily as they spent years campaigning against British forces in the Revolutionary War.
- Lewis and Clark carried Dutch ovens on their journey across the American West in the early 1800s, and you can still buy reproductions of the three-legged ovens they used.
- Mountain men exploring the American frontier used Dutch ovens into the late 19th century.
- African American Settlers on the Great Plains widely used Dutch ovens for cooking.
- Chuckwagons accompanying western cattle drives also carried Dutch ovens from the mid-19th century into the early 20th century.